
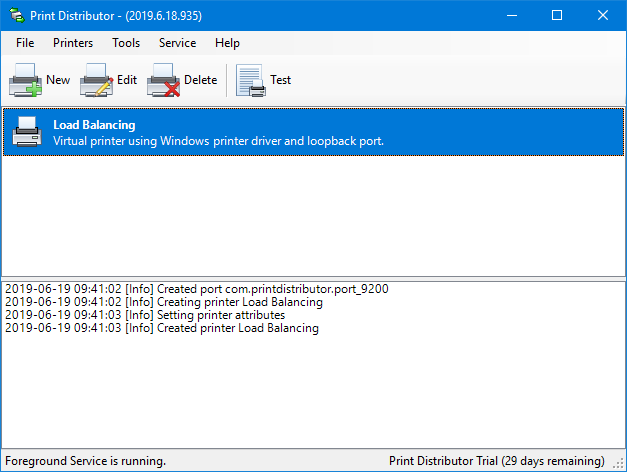
Starting Print Distributor will show a Window with a number of parts. As well as normal application menus and a toolbar there is a list of virtual printers followed by a log window and finally a status bar.
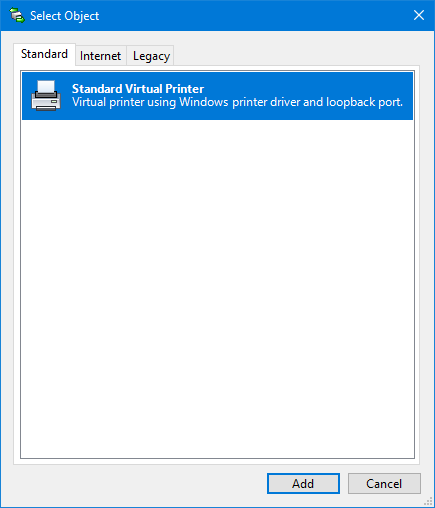
Use the Add button on the toolbar to create a new virtual printer, this will show a dialog that lets us choose the type of printer to create. You will see this printer in many places with different objects depending on what you are doing. In this case we will select the Standard Virtual Printer type.
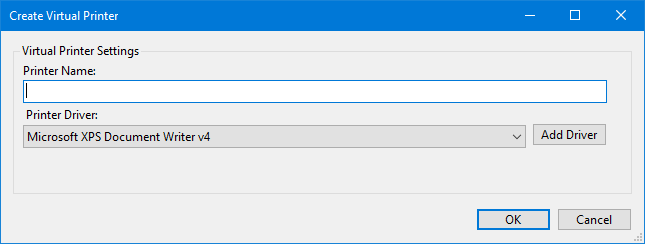
You can now name your virtual printer and choose the printer driver. The printer driver you choose is important. If you are printing to a group of Printers then you need to choose a driver that will work with all of them. In this case we will use the Microsoft PDF driver that comes bundled with Windows 10 so we can print to a PDF file.
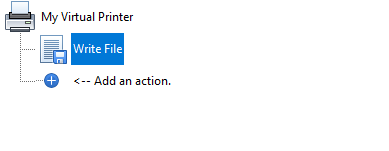
We can now work on what we want the virtual printer to do when a new document arrives. Print Distributor uses a tree structure to describe the actions and a property grid to configure each action.
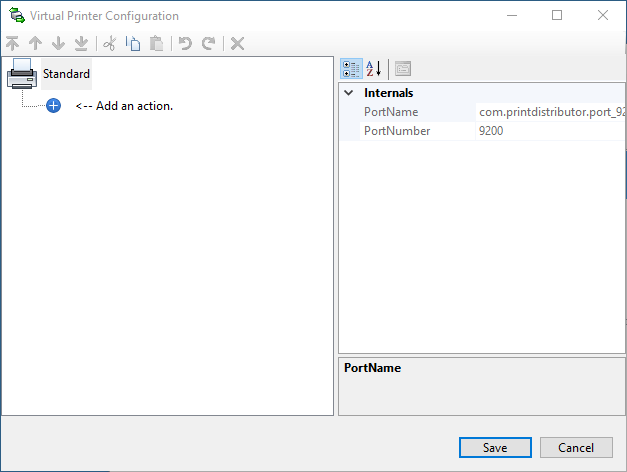
Use the Add node:  to add an action to
the tree. This time we will choose the Write File action under the File tab. Some actions
will open another dialog to help you configure them but in this case the Write File action
is added to the tree with some default properties.
to add an action to
the tree. This time we will choose the Write File action under the File tab. Some actions
will open another dialog to help you configure them but in this case the Write File action
is added to the tree with some default properties.
Every action has properties which are available in the property grid on the right of the window. Selecting different actions shows that actions properties.
In the case of the Write File action there are three properties, the title which is available for all objects on the tree and two to control the behaviour of the action.

The title has no purpose other than to help you document the purpose of the action. You can modify it by clicking on the text in the tree a second time or by editing the value in the property grid.
The Destination Path property idicates where to write the file, by default it writes to a directory C:\Archive. Print Distributor has choosen .pdf for the file extension because we selected the PDF driver when we started creating the virtual printer.
There is also a little magic in the path, the sequence ?? serialnumber ?? is a template, when a document is printed this gets turned into a number that increments for every document. This ensures we get a unique file name for each output file.
The Mode property lets you control whether you want to overwrite an existing file or append to the end. For a PDF file the choice should always be Overwrite.
Use the Save button to commit the changes we have made and create the virtual printer. The printer will be visible to any Windows application. You can also send a test print to your printer in Print Distributor by selecting it then clicking on the test button.
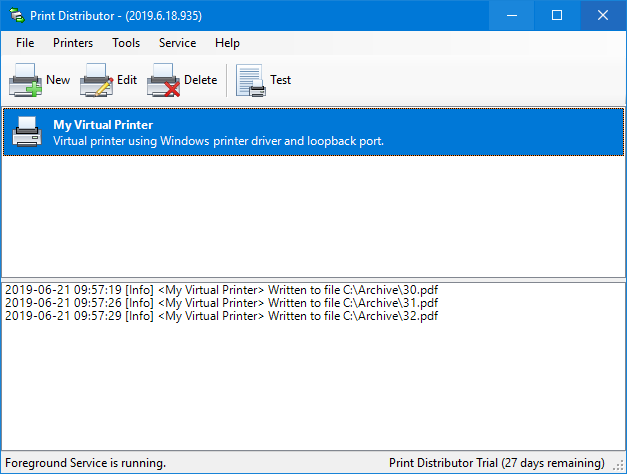
If you take a look in your C:\Archive directory you will find some PDF files.